Cheers - Pretty Pink Posh

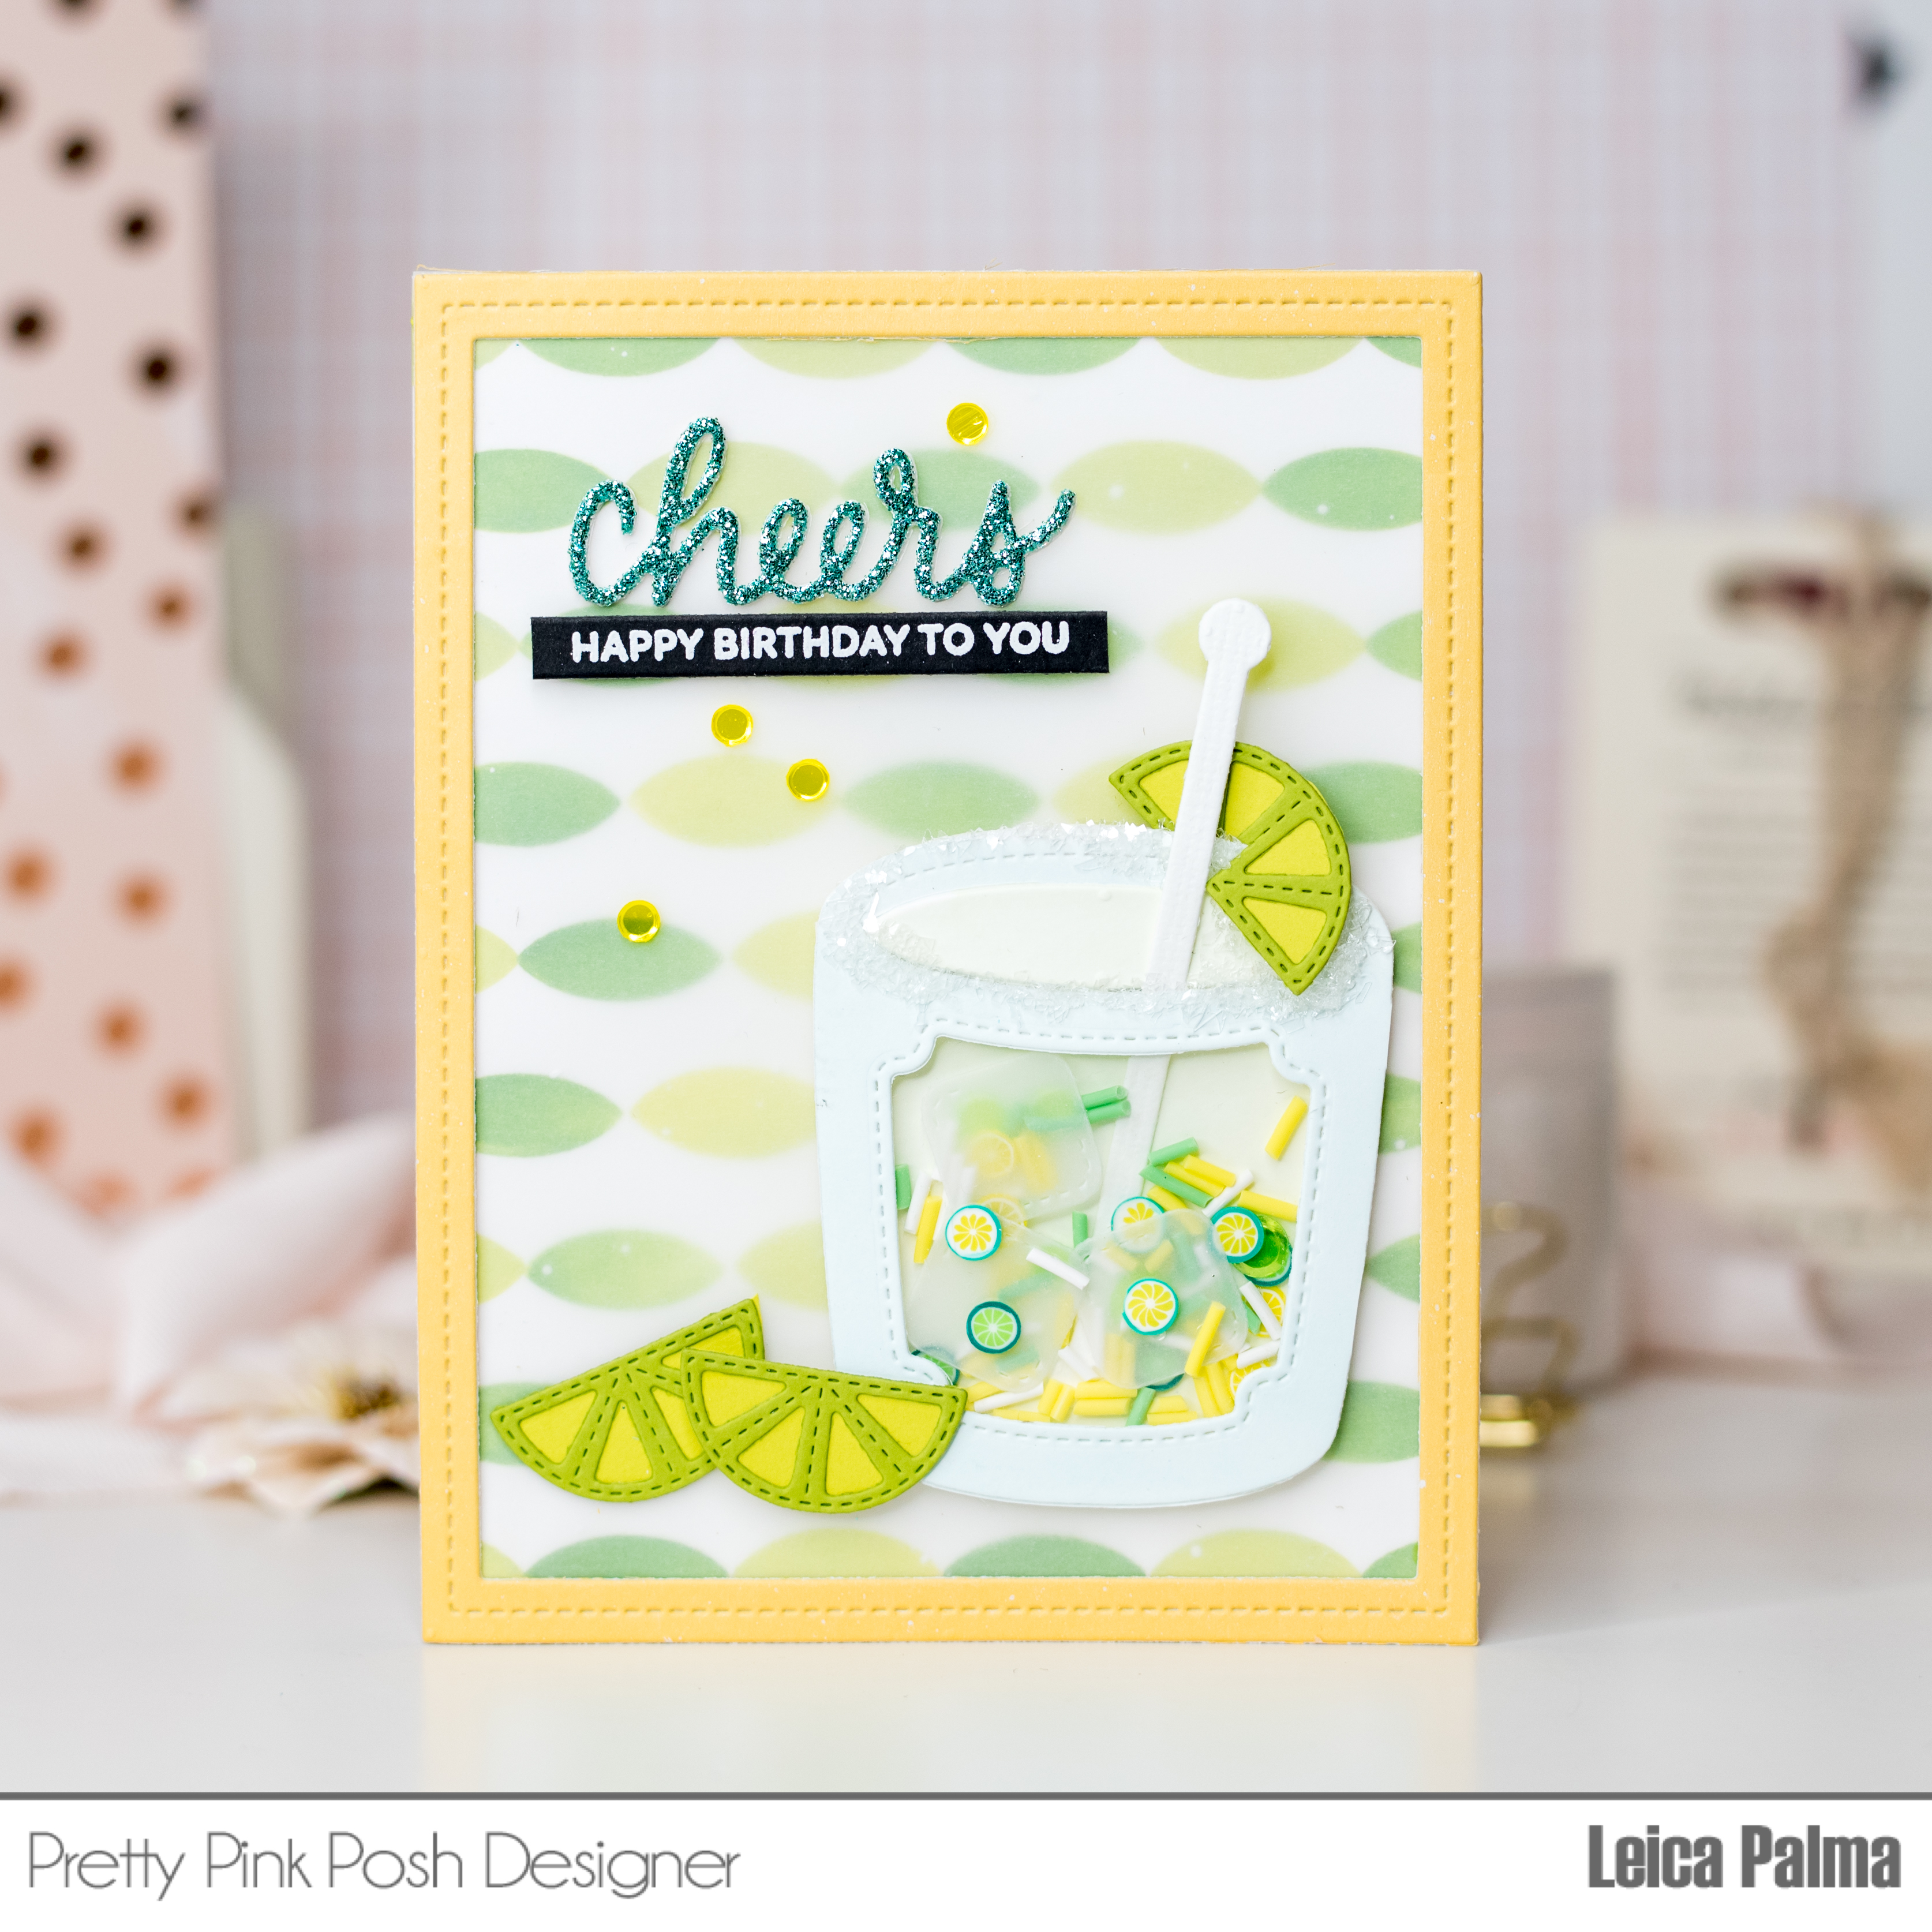
Hello, my creative friends! Today, I want to show you a fun card I made with the Fruit Mug Additions Dies. The main focus of the card is a delicious margarita drink. It has quickly become my favorite product from the latest release. Let's get started!


First, I prepared a white card base that's the size of a standard A2 card. Then, I used the Streamers Stencils with Mowed Lawn and Twisted Citron Distress Oxide Inks to add some colorful patterns. To make it more interesting, I splattered some white ink.

Next, I took a piece of vellum to create a softer background. I added a yellow frame around it using the Fancy Cake Dies. I really like how the frame gives my cards a nice border.

Then, I used the Winter Mug Dies to cut out the mug shape and made a window for the shaker element using the Fruit Mug Additions Dies. I turned the mug into a short glass by removing the handle. To make the shaker, I attached a clear plastic sheet on the back of the mug, just below the rim. It's important to keep the plastic below the rim so you can put a stirrer or straw into the glass. I added foam around the frame of the mug to create a space for the shaker, and I put in some Lemon Lime Clay Confetti and vellum cut into ice cubes. I also cut lime slices from green cardstock and glued them onto the card, as well as one on the rim of the glass. To make it more realistic, I added salt around the rim using Diamond Dust and Nuvo Crystal Drops as the glue. 

For the sentiment, I cut out the word "cheers" from teal glitter cardstock. I layered a few pieces to give it dimension. I also heat embossed the phrase "Happy birthday to you" in white on a strip of black cardstock.

Of course, no Pretty Pink Posh card is complete without some confetti. I added some Lemon Shimmer Mix for extra sparkle and interest.

And that's all for my Margarita Birthday card. I absolutely adore the new Fruit Mug Additions Dies. I've already made so many cards with them, and I'll be sharing more card ideas soon. Have a fantastic day!


Comments

Popular posts from this blog

Pretty Pink Posh February 2023 Release Blog Hop

Hello friends! Welcome to the Pretty Pink Posh February 2023 Release Blog Hop and happy  9th birthday, PPP!  Today, I’m sharing a birthday card and a gift card holder that I made using dies and stencils from the new Birthday Release.  For my card, I started with an A2-sized white cardstock that I ink blended with Saltwater Taffy Distress Oxide Ink. I sprayed some water for an oxidized effect and also splattered some white ink on it. I then took a scrap of white cardstock and used finger daubers to ink blend Distress Oxide Inks in rainbow colors. I used Picked Raspberry, Spiced Marmalade, Mustard Seed, Lucky Clover, Salty Ocean, and Wilted Violet. I sprayed water, splattered white ink, and cut the rainbow colored panel with the WISH die. I also cut the flame from the Birthday Mug Addition Dies and ink blended it with Mustard Seed Distress Oxide Ink.  Next, I stamped the sentiments with black ink then foam mounted WISH and the flame on the card panel. I also added some pearls for inter

Pretty Pink Posh March 2023 Release Blog Hop

Hello friends! Welcome to the Pretty Pink Posh February 2023 Release Blog Hop! For my card, I started with a 4.5” square white cardstock and I ink blended through the Layered Carrots Stencil with Distress Oxide Inks.  Layer A: Dried Marigold Layer B: Spiced Marmalade Layer C: Twisted Citron I then matted this stenciled panel on a 5” square cardstock that I ink blended with Spiced Marmalade. For added interest, I sprayed this larger panel with water that has a bit of white ink.  Next, I cut the dies from the Winter Mug Dies and the new Easter Mug Additions Dies in white cardstock and colored them with Copic markers and Distress Oxide Inks. The blue bunny mug also got a print from the Mini Grid Stencil . Before foam mounting the mug, I placed a sheet of vellum to soften the carrot background and I also stamped the sentiment onto the vellum with Stazon ink.  Here are the Copic markers I used for the mini eggs: BG70, R00, V000, Y11, YG61, YR000 I embellished the card with Pi

Pretty Pink Posh August 2023 Release Blog Hop

Hello and welcome to the Pretty Pink Posh August 2023 Release Blog Hop!  For my project, I made a box card filled with the cutest critters and pumpkins from the Halloween Signs , Pumpkin Patch Critters , and Woodland Thanks  Stamp Sets. I love that PPP new products always go well with previously-released items.  Make sure to check out the rest of the Hop for more inspiration using the new products from Pretty Pink Posh! There are 3 $30 gift certificates up for grabs (one winner each day). Winners will be picked randomly along the blog hop. Comments must be left by 11:59 PM PST on 08/15/2023. Winners will be announced on the PPP blog. Blog Hop List:  Pretty Pink Posh blog Amy Rysavy Cathy Zielske Leica Palma Channin Pelletier Jeanne Jachna Lisa Mears Carly Minner