Hi, crafty friends!
It's Week 2 of homeschooling due to the Coronavirus and we just received notice that school will be closed until May 1st. I must say, it is not easy being the temporary teacher to my little third grader. I appreciate teachers even more and those who home school their children. How do you guys do it? I am slowly losing my mind!!!
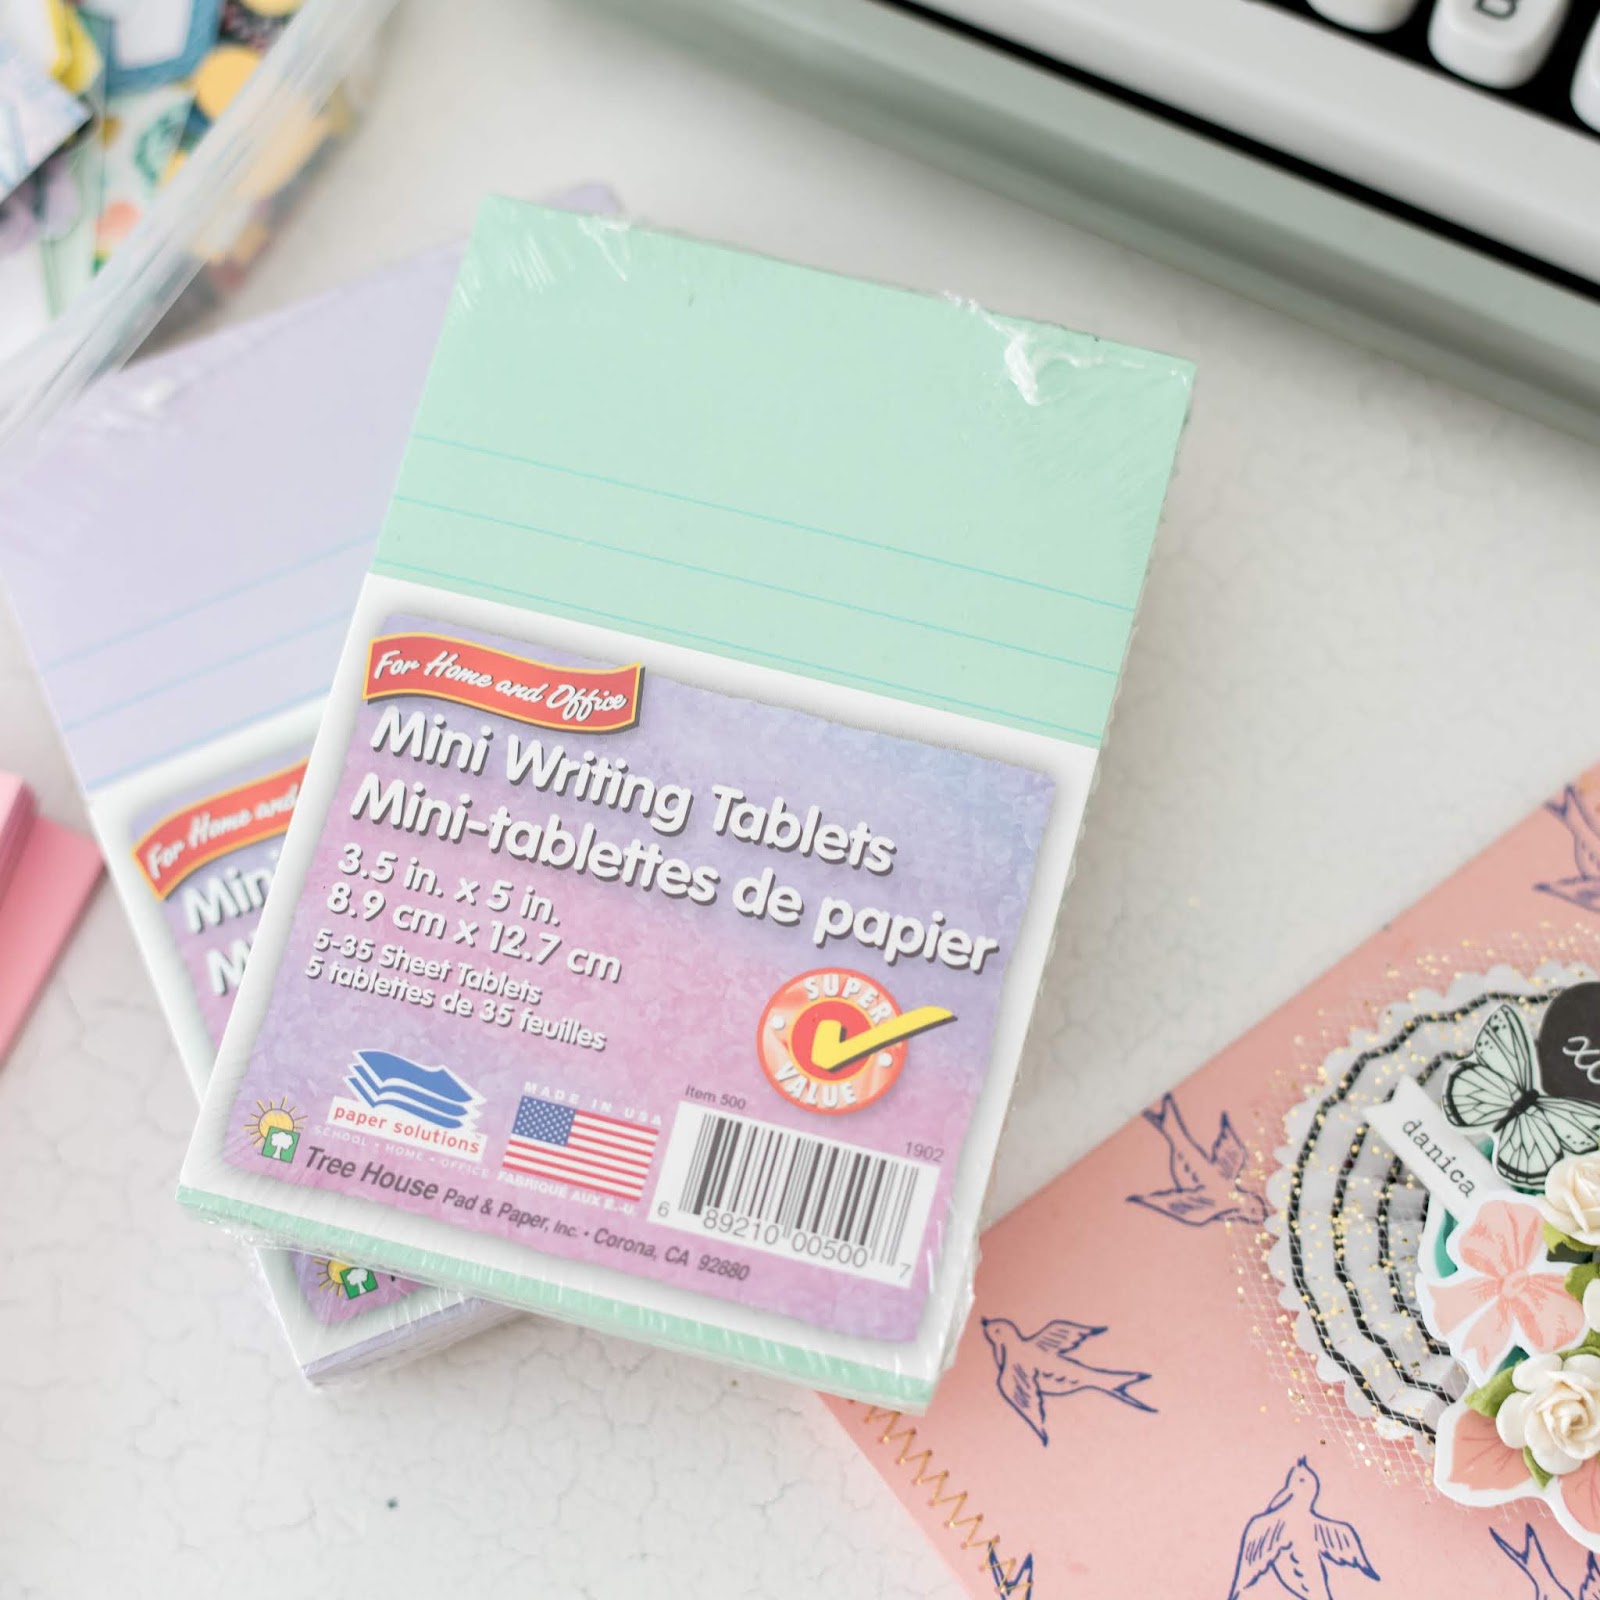
Last week, when my daughter asked for scratch paper for her math work, I remembered that I had some paper pads from Dollar Tree. I told her it was recess time, but really I wanted an excuse to craft. In a few minutes, I had this beautiful, personalized, jazzed up paper pad for her. It was such a nice break and I got to be creative and made something practical.
I used Maggie Holmes papers from the Sunny Days collection and zig-zag stitched around the cover with gold thread.
The paper pads are from the dollar store and they measure 3 1/2 x 5 inches. Each pack comes with 5-35 sheets of paper. I only used one of the pads, so the measurements provided for this project is for one pad only (35 sheets). The cover is cardstock cut down to 3 5/8 x 5 inches. I then scored and folded it at the 3 1/2 mark and 3 5/8 mark. The lining is just a tad smaller than the cover, 3 3/8 x 4 3/4 inches to be exact. Next, I sandwiched a ribbon in between the front cover and the lining prior to stitching around the paper, so that it can be used to tie the booklet closed. Lastly, I glued the brown cardstock of the paper pad to the inside of my mini book.
I hope you like today's project share and that you are keeping your creative juices flowing whilst quarantined at home. Stay safe and let's continue to pray for each other!
xoxox


Comments
Post a Comment